
Yii2 安装与配置
Yii2版本发布了,这里介绍下搭建Yii2环境的过程。
1、首先下载Yii2源代码
git下载地址:
wget https://github.com/yiisoft/yii2-app-advanced/archive/master.zip
wget后需要解压 unzip
或者
git clone https://github.com/yiisoft/yii2-app-advanced.git
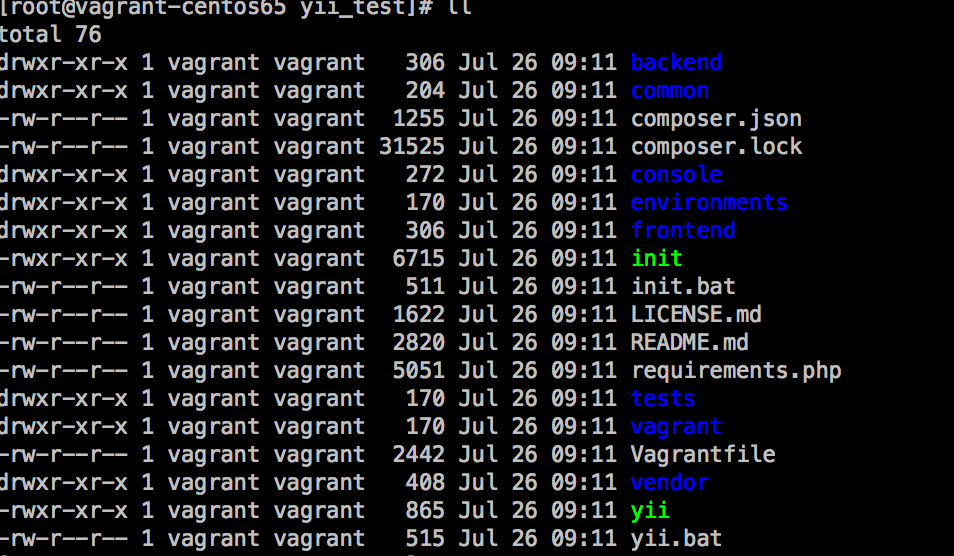
进入advanced
目录结构如下:
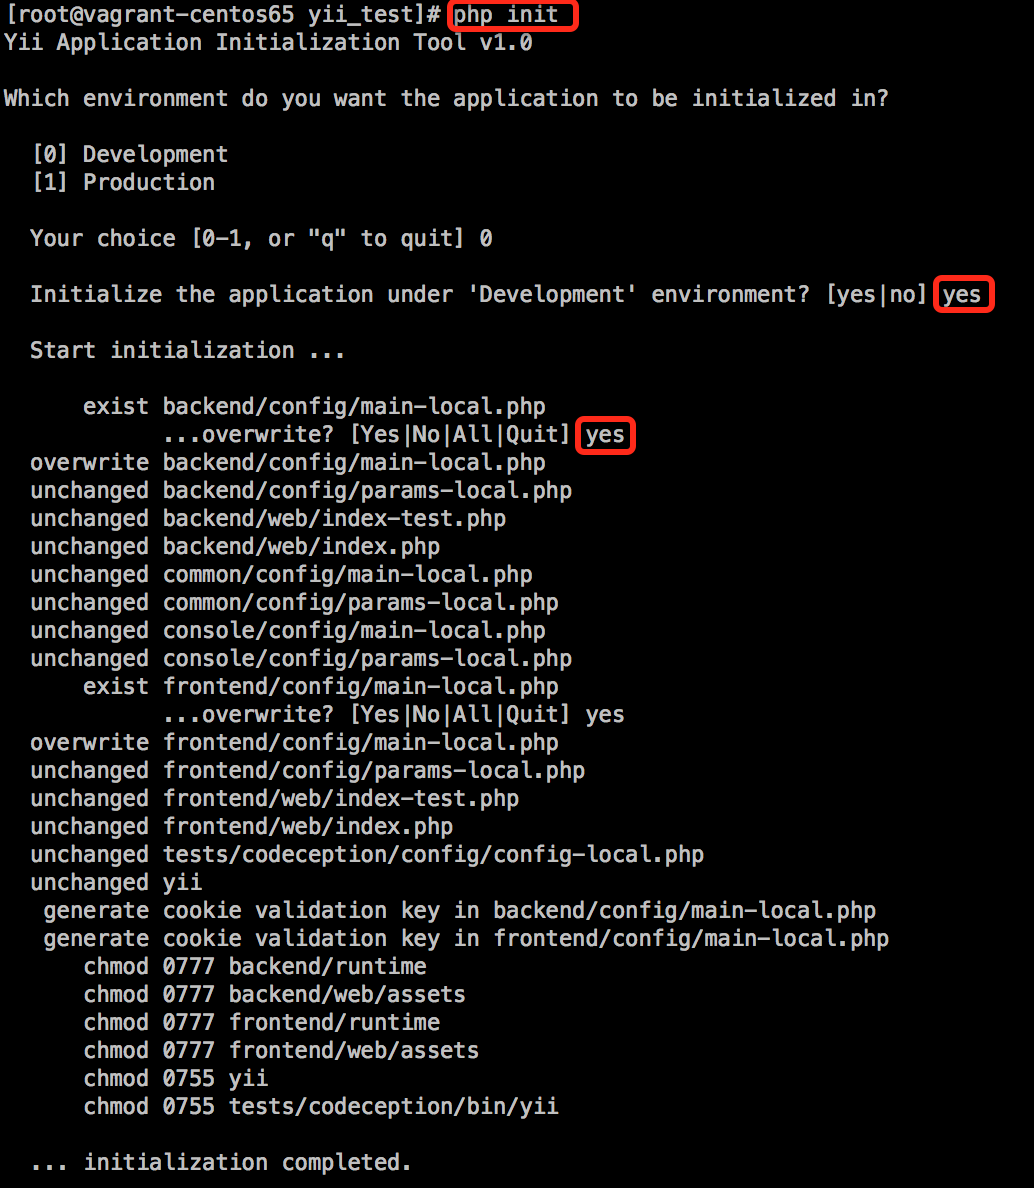
2、初始化Yii
初始化Yii 只需要运行当前目录下绿色的 init 文件即可
php init
结果如下:
3、配置nginx指向 frontend
vim /etc/nginx/conf.d/vhost.conf
我们在 /vagrant/advanced目录下的,有个 frontend模块,我们需要指向里面
server {
    listen       80;
    server_name  yii.11.vm.com;
    index index.php index.html index.shtml;
    root  /vagrant/advanced/frontend/web;

    location /{
        if (!-e $request_filename) {
            rewrite  ^/(.*)$  /index.php/$1  last;
            break;
        }
    }
    location ~ \.php($|/) {
        fastcgi_pass  127.0.0.1:9000;
        fastcgi_index index.php;
        fastcgi_split_path_info  ^(.+\.php)(/.*)$;
        fastcgi_param  PATH_INFO $fastcgi_path_info;
        include fastcgi.conf;
    }
}
现在就配置好了,可以访问了。
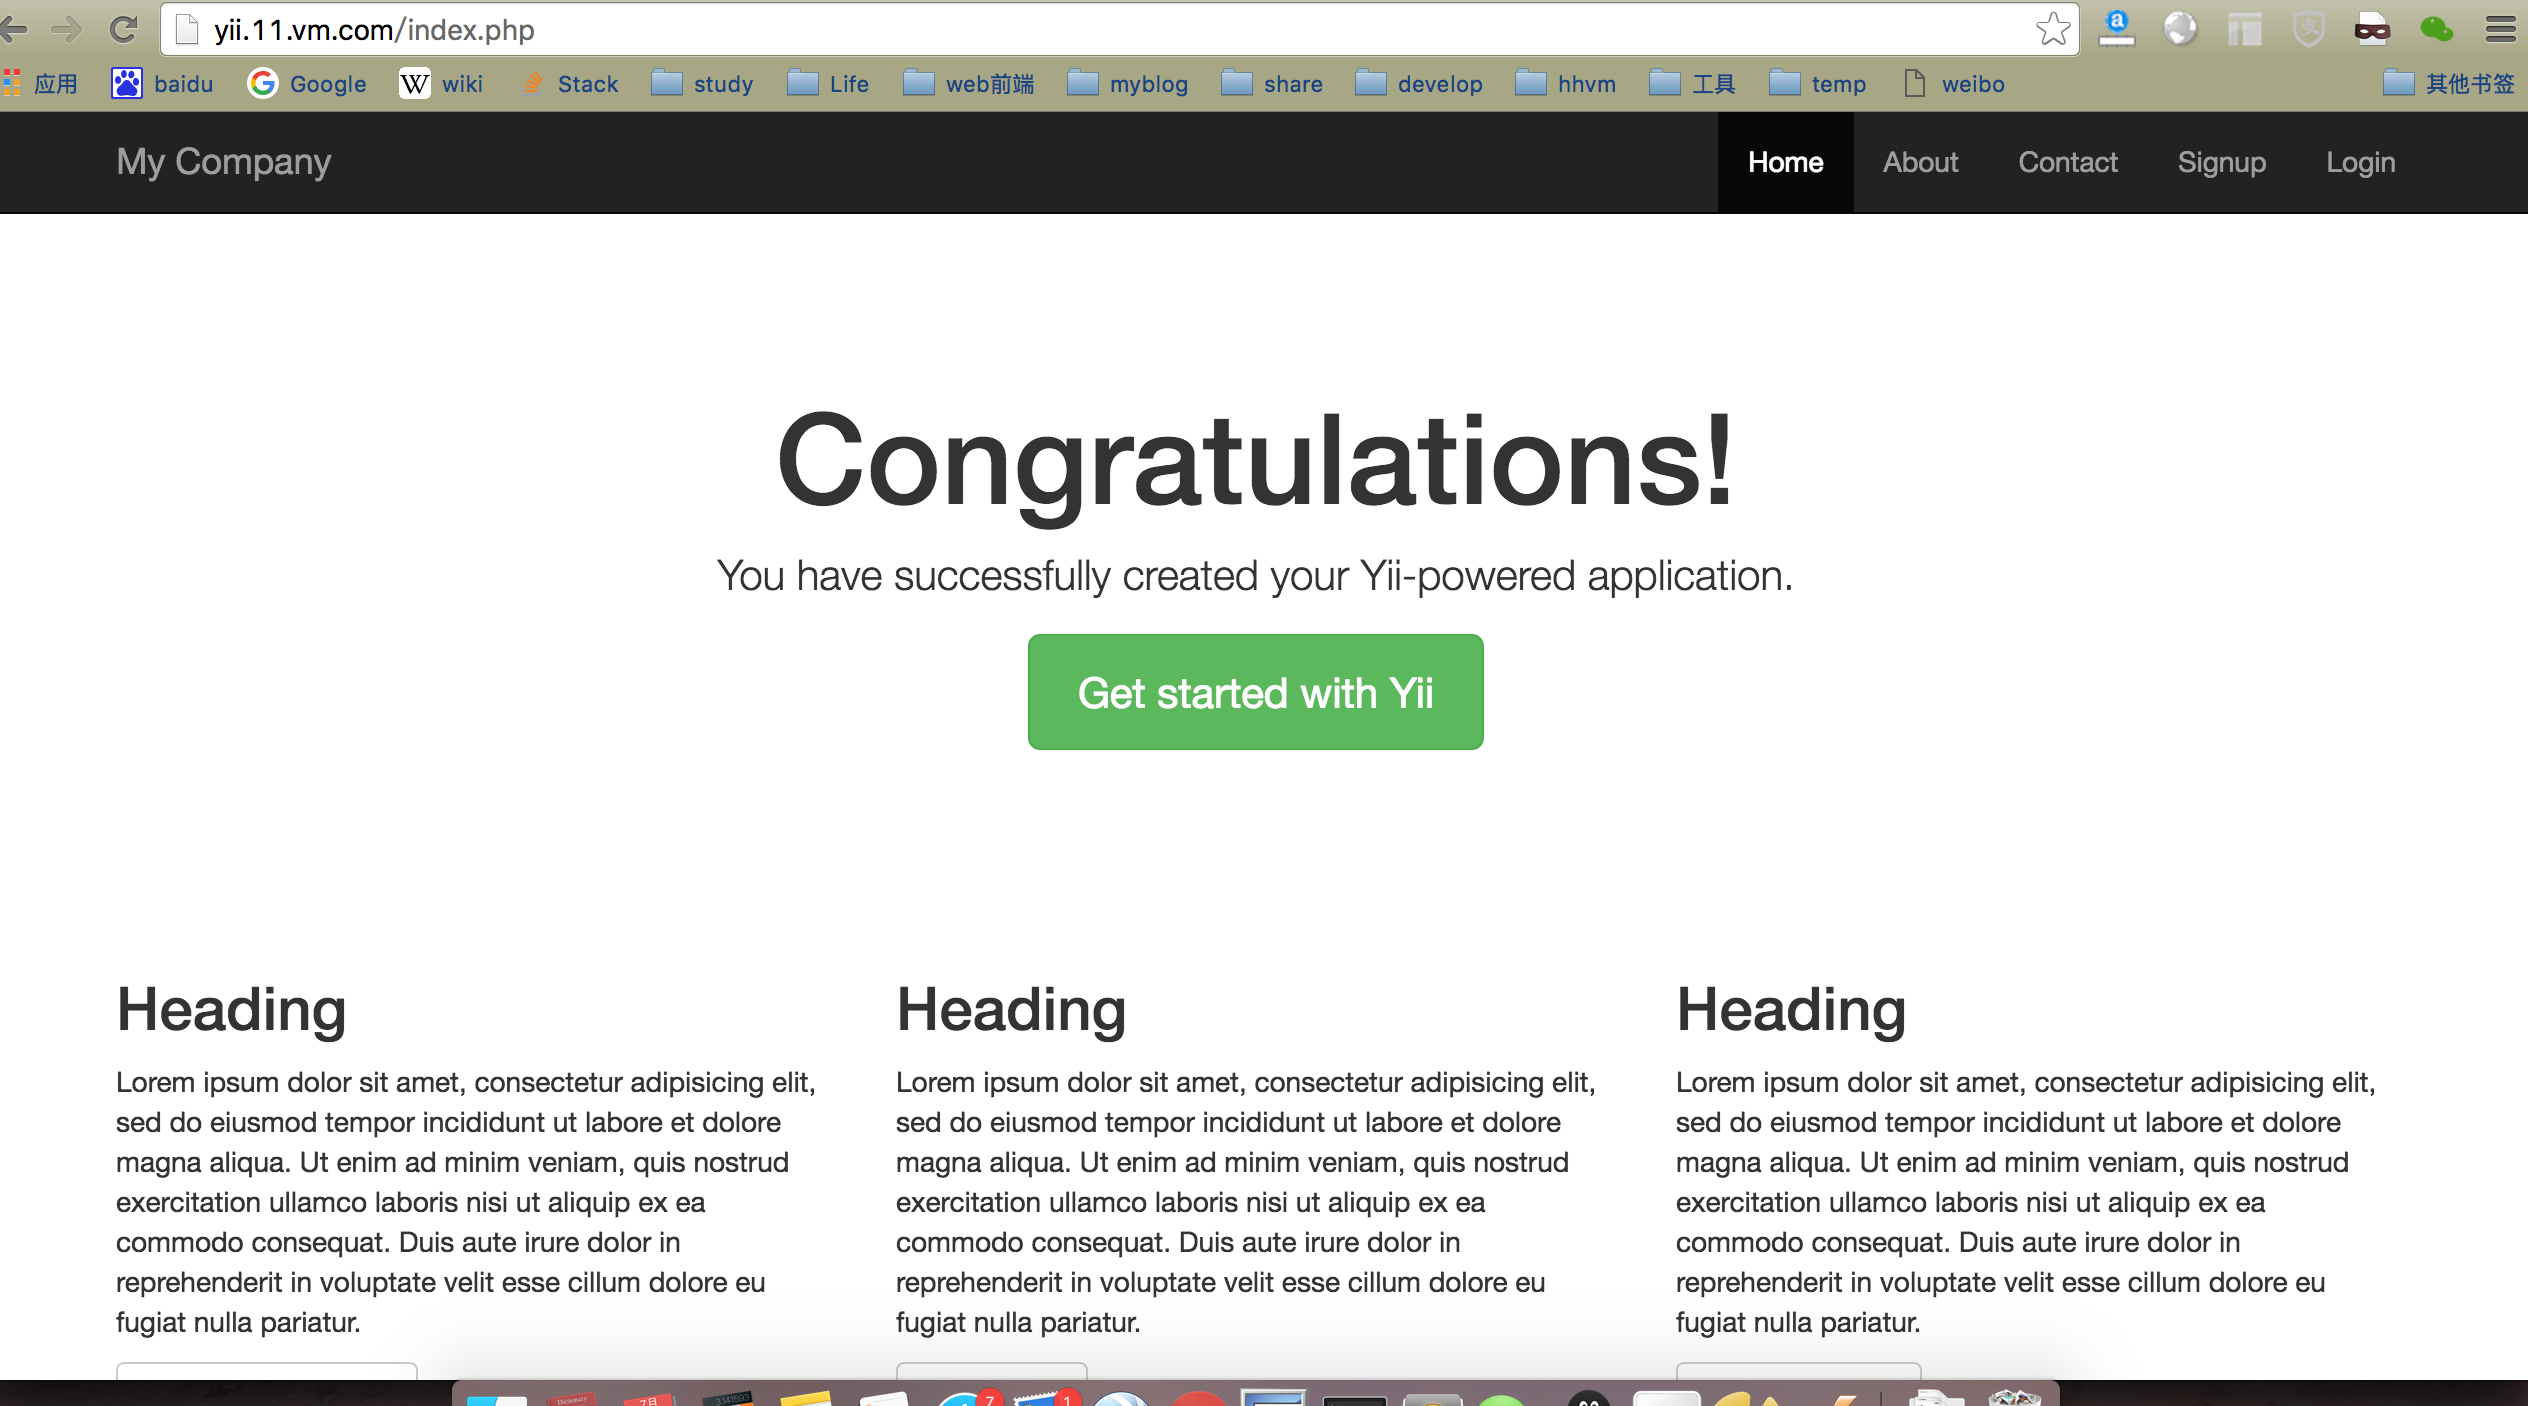
4、打开浏览器访问
网址为nginx配置,这里是 yii.11.vm.com(我指了服务器的host)
http://yii.11.vm.com/index.php
结果
网址也可以这样输入:
http://yii.11.vm.com/index.php?r=site%2Findex
默认为 frontend/controllers/SiteController.php 的 actionIndex函数